- Call: 1 825 454 8883
- Email: info@learnersgain.com
By Admin
Science does not always need a laboratory, complicated equipment, or expensive supplies. Some of the most exciting science lessons can happen right in your kitchen.
With a few everyday household items, children can explore chemistry, physics, density, surface tension, reactions, and more. These simple experiments can turn an ordinary afternoon into an opportunity to ask questions, make predictions, observe changes, and discover how science works in the real world.
The best part?
Children are not simply reading about science. They are experiencing it.
Here are five easy and engaging kitchen science experiments families can try at home using simple materials. For younger children, an adult should help with setup and supervision.
Hands-on science helps children understand concepts that may seem difficult when they are explained only in a textbook.
When children conduct simple experiments, they practise important scientific skills such as:
Observing
Predicting
Measuring
Comparing
Recording results
Asking questions
Explaining what happened
Testing ideas
Problem-solving
These are the same thinking skills scientists use when investigating the world around them.
Kitchen experiments also help children understand that science is everywhere.
It is happening when food dissolves.
It is happening when bubbles form.
It is happening when liquids separate.
It is happening when soap interacts with water.
Science is part of everyday life.
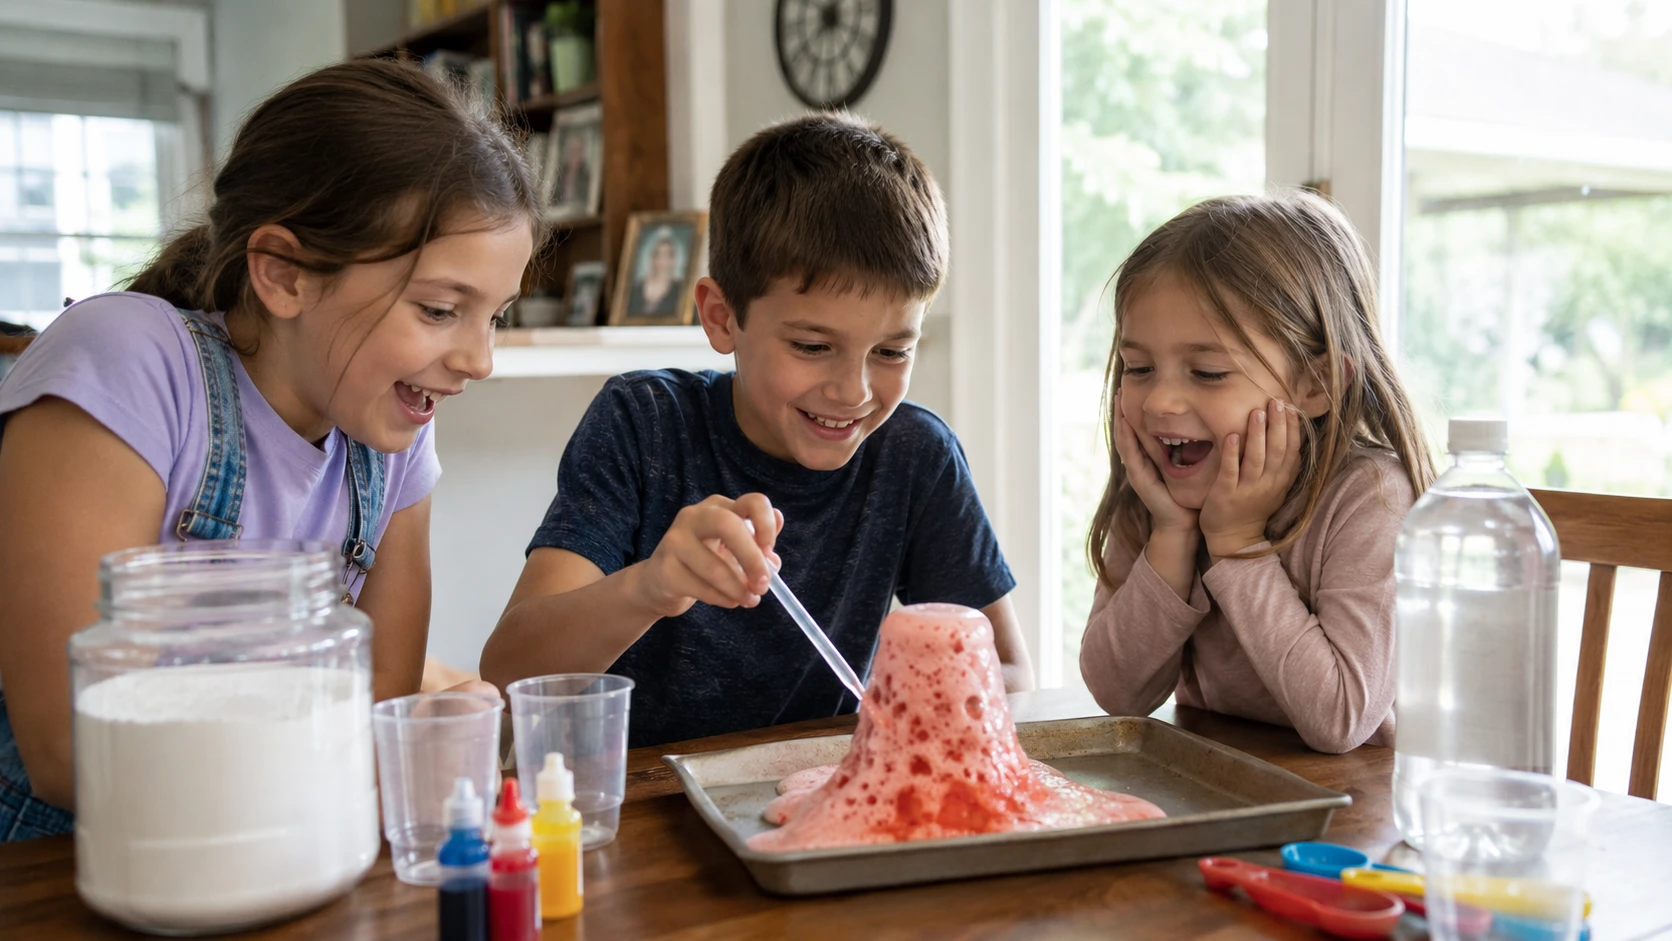
This classic experiment is a great way to introduce children to chemical reactions.
A small cup or bowl
Baking soda
Vinegar
A spoon
A tray or plate to catch any spills
Place the cup on a tray.
Add a few spoonfuls of baking soda to the cup.
Slowly pour in a small amount of vinegar.
Watch carefully.
Almost immediately, bubbles and foam begin to form.
Baking soda and vinegar react when they are mixed together.
The reaction produces a gas called carbon dioxide.
The carbon dioxide forms the bubbles children can see.
This is an example of a chemical reaction because the substances interact and produce new substances.
What did you notice first?
Where did the bubbles come from?
What happens if you use a little more vinegar?
What happens if you use less baking soda?
Does the reaction continue forever?
Encourage children to describe what they observe instead of simply telling them the answer.
That helps develop scientific thinking.
Why do some liquids float on top of others?
This experiment introduces children to density.
Density describes how much matter is packed into a certain amount of space.
A clear glass or transparent cup
Honey or syrup
Dish soap
Water
Vegetable oil
Food colouring, if available
Pour a small amount of honey or syrup into the bottom of the glass.
Slowly add dish soap.
Mix a small amount of food colouring with water and gently pour the water into the glass.
Finally, slowly add vegetable oil.
Try not to stir the liquids together.
Wait and observe.
You should begin to see different layers.
The liquids have different densities.
Some liquids are denser than others.
The denser liquids tend to settle closer to the bottom of the glass, while less dense liquids remain above them.
That is why the liquids can form visible layers.
Ask your child to predict the order before adding the liquids.
Write the prediction down.
Then compare the prediction with the final result.
You can ask:
Which liquid ended up at the bottom?
Which stayed at the top?
Why do you think that happened?
What might happen if we changed the order in which we poured them?
This simple activity introduces children to an important scientific concept in a memorable way.
This quick experiment can create a surprising reaction using only water, pepper, and dish soap.
It demonstrates surface tension.
A shallow bowl
Water
Ground black pepper
Dish soap
Fill the bowl with a small amount of water.
Sprinkle black pepper across the surface.
Try to spread the pepper evenly.
Now place a tiny drop of dish soap on one fingertip.
Touch the center of the water gently.
Watch what happens.
The pepper quickly moves away from the soap.
Water molecules attract one another.
This attraction creates something called surface tension.
Dish soap changes the surface tension of the water.
When the soap touches the surface, the water moves, carrying the floating pepper along with it.
It can look as though the pepper is running away.
But the real explanation is science.
Did the pepper sink or float before the soap was added?
What happened when the soap touched the water?
Would the same thing happen without soap?
What do you think would happen if you added more soap?
This experiment is quick, visual, and excellent for introducing children to the idea that forces can exist even when we cannot see them directly.
Milk, food colouring, and dish soap can create a beautiful moving pattern.
This experiment helps children explore how soap interacts with liquids and fats.
A shallow plate
Milk
Food colouring
Dish soap
A cotton swab or the tip of a clean spoon
Pour enough milk into the plate to cover the bottom.
Add several drops of different food colours around the surface.
Do not stir them.
Place a small amount of dish soap on a cotton swab or spoon tip.
Gently touch the surface of the milk.
Watch what happens.
The colours begin moving and swirling across the plate.
Milk contains several substances, including water and fat.
Dish soap interacts with the fat in the milk.
As the soap spreads, it causes movement in the liquid.
The food colouring makes that movement easy to see.
The result can look like colourful fireworks or swirling paint.
After the first experiment, try changing one thing.
For example:
Use more milk.
Use fewer colours.
Place the soap in a different part of the plate.
Ask your child to predict what will happen before each change.
Scientists often learn by changing one variable and observing the result.
Children often see things disappear when they are mixed with water.
But do they really disappear?
This simple activity introduces the idea of dissolving.
Several clear cups
Water
A spoon
Small amounts of different kitchen materials, such as:
Salt
Sugar
Flour
Cooking oil
Rice
Fill each cup with approximately the same amount of water.
Place one test material into each cup.
Stir each mixture gently.
Observe what happens.
Some materials may seem to disappear into the water.
Others may float, sink, or make the water cloudy.
When a substance dissolves, its particles spread throughout the liquid.
The substance may no longer be visible, but it has not simply vanished.
Salt and sugar, for example, can dissolve in water.
Other materials, such as oil, do not dissolve in the same way.
Encourage your child to make a simple table.
Material Prediction What Happened?
Salt Will dissolve Sugar Will dissolve Flour Not sure Oil Will not dissolve Rice Will not dissolve
Children can record their observations after testing each material.
This turns a simple kitchen activity into a real scientific investigation.
You can make each experiment even more educational by introducing a simplified scientific method.
Teach children to follow these steps.
What do we want to discover?
For example:
Which kitchen materials dissolve in water?
What do you think will happen?
This is sometimes called a hypothesis.
Conduct the experiment.
Watch carefully.
What changes?
What stays the same?
Children can write, draw, or make a simple chart.
Was the prediction correct?
Why might the result have happened?
This simple process teaches children that science is not simply memorizing facts.
Science is a way of investigating questions.
One of the best things parents can do during science activities is avoid giving every answer immediately.
Instead, ask questions.
“What do you think will happen?”
“Why do you think that?”
“What did you notice?”
“What changed?”
“What surprised you?”
“What would happen if we changed one thing?”
“How could we test that?”
These questions encourage curiosity.
And curiosity is at the heart of science.
A child who learns to ask thoughtful questions is developing skills that will help in mathematics, science, technology, engineering, and many other areas.
Predictions make experiments more exciting.
Before beginning an experiment, ask your child to guess what will happen.
The prediction does not need to be correct.
In fact, an incorrect prediction can create an excellent learning opportunity.
Suppose a child predicts that vegetable oil will sink below water.
When the experiment shows the opposite result, ask:
“What did we discover?”
This helps children understand an important scientific principle:
Changing your mind when you discover new evidence is part of learning.
Children can keep a simple notebook for home experiments.
For every activity, they can record:
The experiment name
The question
Their prediction
Materials used
What they did
What they observed
What they learned
Younger children can draw pictures instead of writing full explanations.
Older students can write more detailed observations.
Over time, the notebook becomes a record of their scientific discoveries.
It also strengthens writing, observation, organization, and critical-thinking skills.
These simple experiments introduce several important science ideas.
The baking soda and vinegar activity explores chemical reactions.
The density jar introduces density.
The pepper experiment demonstrates surface tension.
The milk experiment explores interactions between different substances.
The dissolving experiment introduces mixtures and solutions.
As children progress through school, they will encounter these concepts in greater depth.
Hands-on experiences can make the classroom explanations much easier to understand.
A student who has already seen liquids form layers may find density much easier to imagine when it appears in a science lesson later.
Children sometimes believe science is only for people wearing laboratory coats and working with complicated equipment.
But science begins with something much simpler:
Curiosity.
Why does this float?
Why did those bubbles appear?
Why did the colours move?
Why did the sugar seem to disappear?
Why did these liquids separate?
Every one of these questions can lead to scientific discovery.
By encouraging children to investigate everyday events, parents can help them develop a more positive relationship with science.
Home science experiments do not need to work perfectly every time.
Sometimes liquids mix unexpectedly.
Sometimes colours do not move exactly as expected.
Sometimes a child makes a completely different observation.
That is okay.
Science involves testing, observing, adjusting, and trying again.
Instead of focusing only on creating the “perfect” result, focus on the learning process.
Ask:
“What happened?”
“What did we learn?”
“What might we change next time?”
That is real scientific thinking.
You do not need an expensive science kit to help your child explore science.
Your kitchen may already contain everything you need.
With simple household materials, children can investigate:
Chemical reactions
Density
Surface tension
Mixtures
Solutions
Properties of liquids
Scientific observation
Prediction and experimentation
Most importantly, these activities can help children see science differently.
Instead of thinking:
“Science is something I study at school.”
They begin thinking:
“Science is happening all around me.”
That sense of curiosity can make learning more exciting and meaningful.
So choose an experiment, gather a few simple materials, make a prediction, and start exploring.
Your kitchen might just become your child's favourite science laboratory.
At LearnersGain, we believe children learn best when lessons are engaging, understandable, and connected to the world around them.
Our K–12 learning resources help students strengthen their knowledge in Science, Mathematics, English, and other essential subjects while learning at their own pace.
Explore LearnersGain for engaging lessons, practice activities, and educational resources designed to make learning fun, simple, and rewarding.
Your email address will not be published. Required fields are marked *





0 Comments